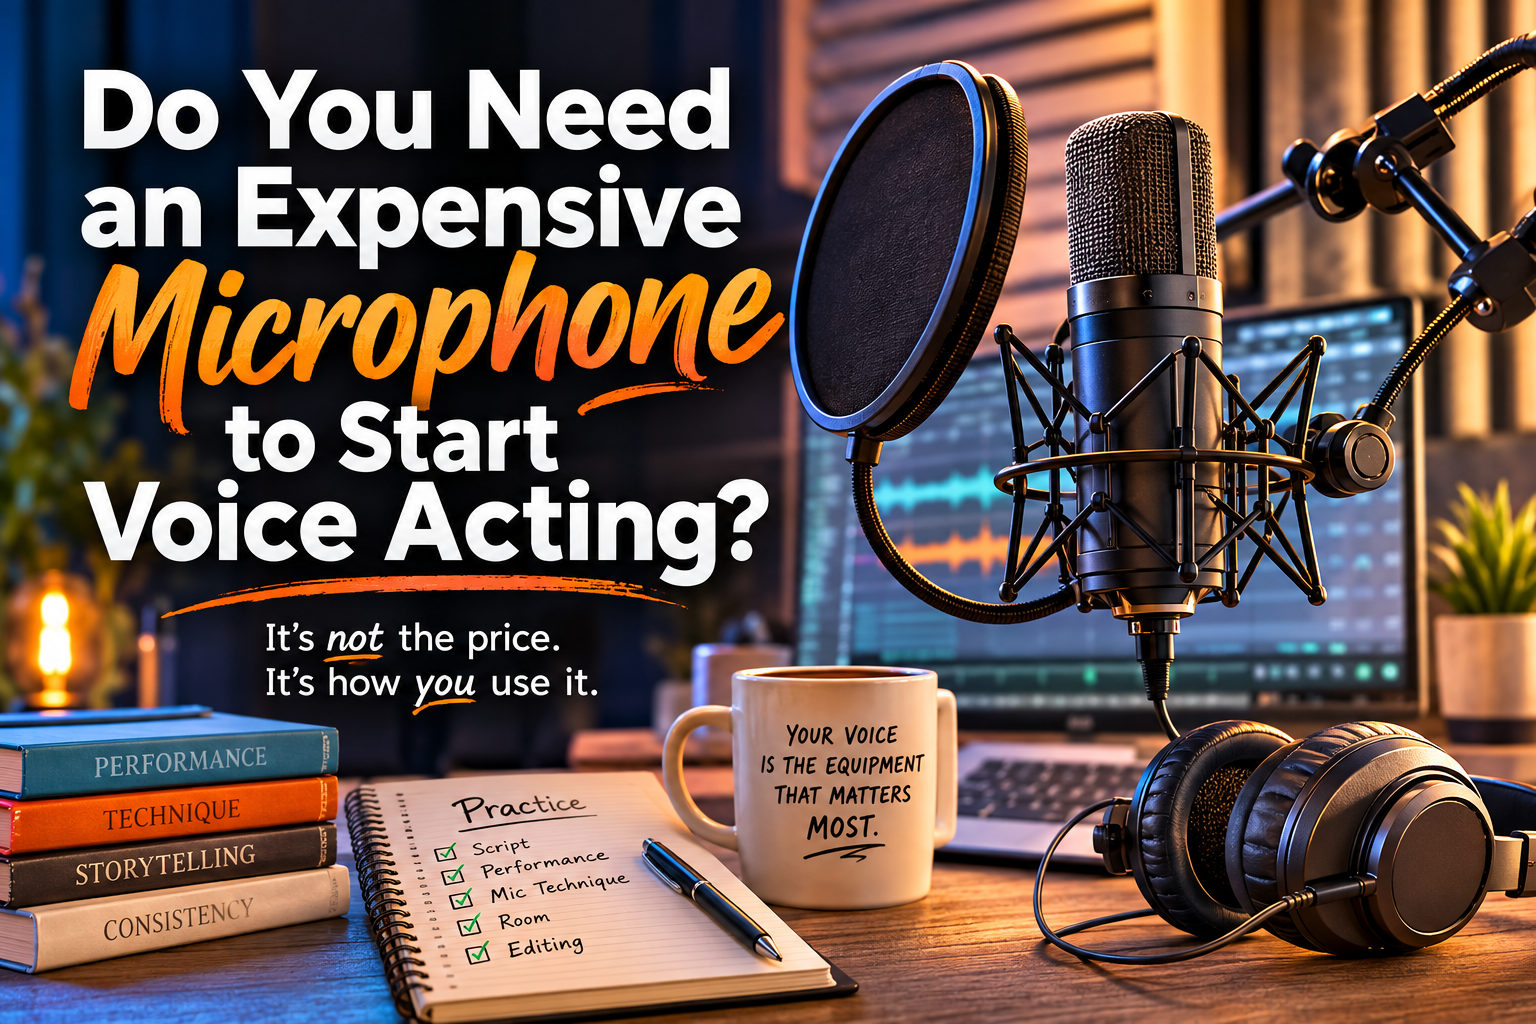
Do You Need an Expensive Microphone to Start Voice Acting?
Do You Need an Expensive Microphone to Start Voice Acting?
One of the first questions almost every aspiring voice actor asks is:
What microphone should I buy?
It is an understandable place to begin. Voice-over is an audio profession, and the microphone is the most visible piece of equipment involved. Search online for beginner advice, however, and you can quickly find yourself trapped in an endless maze of specifications, reviews, comparisons, frequency charts, and people arguing passionately about equipment that costs more than a respectable second-hand car.
This can create the impression that professional voice acting is locked behind an expensive microphone.
It is not.
You need equipment capable of recording clear, usable audio, but the price of your microphone is only one part of the equation. Your performance, recording environment, microphone technique, editing ability, and understanding of the script will usually make a far greater difference than the logo printed on the front of your equipment.
An expensive microphone may record more detail.
Unfortunately, that can include more detail of your untreated room, passing traffic, computer fan, and neighbour apparently rebuilding a wardrobe with a hammer.
So, do you need an expensive microphone to start voice acting?
No.
You need a microphone that is suitable for your voice, your recording space, your budget, and the kind of work you are currently ready to perform.
What Does a Microphone Actually Do?
A microphone converts your voice into an electrical or digital signal that can be recorded.
Different microphones capture sound in different ways. Some produce a smooth and flattering tone. Others emphasise clarity, warmth, brightness, depth, or fine detail. Certain microphones are more sensitive to room noise, while others are better at focusing on the sound directly in front of them.
However, a microphone does not create the performance.
It cannot decide who you are speaking to. It cannot understand the emotional purpose of a script. It cannot correct rushed pacing, unclear diction, poor breath control, or a delivery that sounds as though you are reading safety instructions from the side of a cardboard box.
A microphone captures what you give it.
Better equipment can reproduce that performance with greater accuracy, but greater accuracy is only useful when the performance and recording environment are ready to benefit from it.
USB Versus XLR Microphones
One of the earliest decisions beginners encounter is whether to purchase a USB or XLR microphone.
Both can be used to begin learning voice-over. The right choice depends on your budget, recording space, technical confidence, and long-term goals.
What Is a USB Microphone?
A USB microphone connects directly to your computer.
It contains its own built-in audio conversion, meaning you do not need a separate audio interface to record. Plug it into a USB port, select it in your recording software, and you are largely ready to begin.
Advantages of USB Microphones
USB microphones are usually:
- Easy to set up
- More affordable as a complete starting system
- Portable
- Convenient for practice
- Suitable for online content, streaming, meetings, podcasts, and early voice-over training
- Less intimidating for someone new to audio equipment
A good USB microphone can produce surprisingly strong results in a properly treated recording space.
It can be an excellent way to learn script interpretation, microphone positioning, editing, breath control, and basic recording technique without immediately investing in a full studio setup.
Limitations of USB Microphones
USB microphones can have some limitations:
- The built-in preamp and audio converter cannot usually be upgraded separately
- You may have less control over monitoring and gain
- Some models introduce electronic noise
- Long USB cable runs can be unreliable
- They may offer fewer options as your studio develops
- Certain professional workflows may favour XLR equipment
None of this means USB microphones are toys.
It simply means they are self-contained systems. Their convenience is also their limitation. When one part of the system no longer meets your needs, you generally replace the entire microphone rather than upgrading an individual component.
What Is an XLR Microphone?
An XLR microphone connects to an audio interface using a three-pin XLR cable.
The audio interface supplies gain, converts the analogue signal into digital audio, and sends it to your computer. Some condenser microphones also require phantom power, usually provided by the interface.
An XLR setup generally includes:
- An XLR microphone
- An audio interface
- An XLR cable
- Headphones
- A microphone stand or boom arm
- A pop filter or windscreen
- Recording software
Advantages of XLR Microphones
XLR systems usually offer:
- Greater flexibility
- More control over recording levels
- Better upgrade options
- Access to a wider range of microphones
- Separate replacement of microphones, cables, and interfaces
- More reliable professional connectivity
- Direct headphone monitoring through many interfaces
As your skills develop, you can change one part of the recording chain without rebuilding the entire studio.
You might keep the same interface while trying a different microphone, or upgrade the interface later while continuing to use the microphone you already own.
Limitations of XLR Microphones
An XLR system is usually:
- More expensive initially
- Slightly more complicated to set up
- Dependent on several separate pieces of equipment
- Vulnerable to poor gain settings or faulty cables
- Capable of creating new technical questions at precisely the moment you hoped to start recording
An XLR microphone is not automatically better than every USB microphone.
A poorly chosen XLR microphone in an echoing room can sound significantly worse than a carefully positioned USB microphone in a well-treated space.
Which Should a Beginner Choose?
Choose USB when simplicity, affordability, and speed matter most.
Choose XLR when you want a more flexible system, expect to upgrade gradually, and are comfortable learning how an interface and microphone work together.
For someone who is still discovering whether they enjoy voice acting, a reliable USB microphone may be perfectly sensible.
For someone committed to building a professional home studio, an entry-level XLR setup may provide a clearer upgrade path.
The important thing is not whether the cable ends in USB or XLR.
The important thing is whether the complete recording chain produces clean audio and allows you to practise consistently.
Entry-Level Equipment Versus Professional Equipment
The difference between entry-level and professional equipment is not always as dramatic as beginners expect.
A professional microphone may offer:
- Lower self-noise
- Greater sensitivity
- More accurate frequency response
- Improved build quality
- Better consistency
- More detailed sound capture
- A tone particularly suited to certain voices
- Greater reliability during long-term use
These are meaningful advantages.
However, they do not automatically produce professional results.
A skilled performer using modest equipment in a controlled environment can often create more convincing audio than an inexperienced performer using premium equipment in a reflective bedroom.
Professional equipment tends to reveal more.
That can mean more detail in the warmth of your voice, the texture of a quiet performance, and the subtle movement of an emotional line.
It can also mean more detail in:
- Mouth clicks
- Lip noise
- Sibilance
- Breathing
- Clothing movement
- Chair creaks
- Computer fans
- Street noise
- Room reflections
- The digestive opinions of the family dog
More sensitive equipment demands better technique and a better recording environment.
That is why buying professional gear too early can sometimes make a beginner’s recordings appear worse rather than better. The microphone is not creating the problems. It is simply exposing problems that cheaper or less sensitive equipment did not capture as clearly.
Why Room Acoustics Matter More Than Many Beginners Realise
Your microphone does not only hear your voice.
It also hears what happens to your voice after it leaves your mouth.
Sound travels through the room, strikes walls, windows, desks, floors, ceilings, and furniture, then reflects back toward the microphone. In an untreated space, these reflections can create echo, boxiness, harshness, or a hollow quality.
Even a quiet room can sound poor if it contains too many hard, reflective surfaces.
This is where two separate ideas become important:
Soundproofing reduces sound travelling into or out of a room.
Acoustic treatment controls how sound behaves inside the room.
They are not the same thing.
Foam panels may help reduce reflections, but they will not prevent traffic, aircraft, barking dogs, or enthusiastic household renovations from reaching the microphone.
Likewise, a thick wall may block outside noise while the room itself still produces unpleasant echo.
Improving a Recording Space on a Budget
You do not need to build a full commercial studio before practising voice-over.
Begin by choosing the quietest available area and reducing nearby reflective surfaces.
Useful materials can include:
- Thick curtains
- Duvets
- Moving blankets
- Rugs
- Cushions
- Upholstered furniture
- Bookshelves
- Purpose-built acoustic panels
- Portable treatment positioned around the microphone
Small spaces filled with soft materials can sometimes work well, provided they do not become excessively cramped, hot, or acoustically dull.
Walk-in wardrobes are popular because clothing absorbs reflections, although they are not automatically perfect. Some sound boxy, lack ventilation, or make long recording sessions uncomfortable.
The goal is not to create absolute silence.
The goal is to produce a controlled, repeatable recording with minimal echo and background noise.
Before buying a new microphone, record thirty seconds of room tone and listen carefully through headphones.
You may discover that the most urgent studio upgrade is not another microphone.
It is a heavier curtain.
Why Microphone Technique Matters
Two people can use the same microphone in the same room and produce very different recordings.
The difference is often technique.
Microphone technique includes:
- Distance
- Angle
- Position
- Volume control
- Body movement
- Breath direction
- Consistency
- Understanding how the microphone responds
A common starting position is approximately fifteen to twenty centimetres from the microphone, although the ideal distance varies depending on the microphone, performance, and recording level.
Moving closer can create a warmer, more intimate sound, particularly with directional microphones that produce proximity effect.
Moving farther away can reduce excessive bass and accommodate louder performances, but it may also capture more of the room.
There is no single perfect distance for every performance.
The skill lies in adjusting deliberately.
Avoiding Plosives and Sibilance
Plosives are bursts of air created by sounds such as P and B. When that air hits the microphone capsule directly, it can produce a heavy thump.
A pop filter helps, but microphone placement also matters.
Positioning the microphone slightly above, below, or to the side of your mouth allows air to pass by the capsule rather than striking it directly.
This is known as recording off-axis.
Sibilance refers to harsh or exaggerated S, SH, and similar sounds. Some voices naturally produce more sibilance, and certain microphones emphasise it.
Changing the microphone angle, increasing the distance slightly, improving diction, or choosing a less bright microphone can all help.
Software de-essers are useful, but they should not be expected to rescue severe technique problems every time.
Consistency Is Essential
During a voice-over session, small changes in position can affect tone and volume.
Leaning forward, turning your head, looking down at a script, or drifting away from the microphone can make edited lines sound noticeably different.
Practise maintaining a stable position while still allowing your performance to remain physically alive.
You do not need to sit frozen like a suspicious museum statue.
You do need to understand how your movement affects the recording.
Marking the floor, desk, microphone stand, or seating position can help you recreate your setup across multiple sessions.
This is particularly important for audiobooks, games, e-learning, and any project recorded over several days.
The Upgrade Trap
Equipment research can feel productive.
You are learning specifications. Watching comparisons. Reading reviews. Building shopping lists. Imagining the flawless recordings you will create once the final piece of equipment arrives.
Meanwhile, the microphone remains unused.
This is the upgrade trap.
It creates the belief that progress begins after the next purchase.
A new microphone can be exciting, but it will not replace:
- Vocal training
- Acting practice
- Script analysis
- Breath control
- Mic technique
- Editing practice
- Critical listening
- Regular recording
- Constructive feedback
There will always be another microphone, interface, preamp, plugin, cable, stand, acoustic panel, or studio accessory promising to unlock the next level.
Sometimes an upgrade is necessary.
Sometimes it is procrastination wearing a technical hat.
Before purchasing new equipment, ask:
- What specific problem am I trying to solve?
- Can I clearly hear that problem in my recordings?
- Is the microphone causing it?
- Could technique or room treatment solve it?
- Have I reached the limits of my current equipment?
- Will this purchase improve work I am already capable of delivering?
If you cannot identify the problem, the upgrade may not be the solution.
Practise With the Equipment You Have
The most useful microphone is the one you consistently record with.
Regular practice teaches you how your microphone responds to different distances, volumes, vocal placements, and performance styles.
Record:
- Conversational commercials
- Quiet narration
- Energetic promos
- Emotional dialogue
- Long-form passages
- Character voices
- Loud and soft performances
- Different microphone angles
Listen back critically.
Note where the recording sounds muddy, harsh, distant, boomy, thin, noisy, or inconsistent.
Then change one variable at a time.
Move slightly farther from the microphone. Adjust the angle. Lower the gain. Change your position in the room. Add temporary acoustic treatment. Modify your performance volume.
This process teaches you far more than endlessly comparing equipment reviews recorded in someone else’s voice, room, and studio.
When Is an Upgrade Genuinely Worthwhile?
An upgrade becomes worthwhile when your existing equipment creates a clear limitation that cannot reasonably be solved through technique, treatment, or settings.
You may be ready to upgrade when:
- Your microphone produces noticeable electronic noise
- The connection is unreliable
- Your equipment cannot handle the required recording quality
- Your current microphone is poorly suited to your voice
- Your interface lacks enough clean gain
- You need direct monitoring or improved routing
- Your microphone cannot handle loud performances without distortion
- Clients require a technical standard your setup cannot meet
- Your recording space has improved enough to benefit from more sensitive equipment
- You are consistently booking paid work
- You understand exactly what the new equipment will improve
The final point matters.
Do not upgrade because a microphone is described as professional.
Upgrade because you can identify why it is a better tool for your work.
Upgrade the Weakest Part of the Chain
Your recording quality is shaped by an entire chain:
Performance → room → microphone technique → microphone → interface → recording settings → editing → delivery
Improving the strongest part of that chain may produce very little benefit.
For example, replacing a capable entry-level microphone with a premium studio microphone may not help if the room is still echoing.
Buying a more expensive interface may not help if the main problem is inconsistent microphone distance.
Adding complicated plugins may not help if the recording is distorted at the source.
Identify the weakest link first.
For many beginners, the most valuable upgrades are:
- Better recording-space treatment
- Improved microphone technique
- Reliable headphones
- A stable microphone stand
- A pop filter
- A quieter computer setup
- Training and coaching
- A better microphone
The microphone matters, but it is not always first in line.
Does a Better Microphone Ever Make a Difference?
Absolutely.
A well-chosen microphone can complement your voice, improve clarity, reduce unwanted harshness, capture greater emotional detail, and help your work meet professional expectations.
The point is not that expensive microphones are unnecessary.
The point is that they become valuable at the right stage.
A premium microphone placed in a suitable room, used by a skilled performer with strong technique, can produce exceptional results.
That same microphone placed beside a reflective wall, connected with poor settings, and used by someone drifting around the desk will faithfully record every problem with remarkable precision.
Equipment becomes powerful when the rest of the process is ready for it.
What Should a Beginner Prioritise?
When starting voice acting, focus on building a reliable foundation.
Prioritise:
- A quiet and controlled recording area
- A dependable microphone within your budget
- Correct recording settings
- Consistent microphone placement
- Headphones that reveal recording problems
- Regular performance practice
- Basic editing skills
- Honest feedback
- An understanding of the market you want to enter
Do not spend your entire budget on the microphone and then balance it on a pile of books in the centre of an echoing kitchen.
Build a complete, practical setup.
It does not need to be glamorous.
It needs to let you record, review, improve, and repeat.
Final Thoughts
You do not need an expensive microphone to begin voice acting.
You need equipment that is good enough to let you learn.
Start with a reliable microphone suited to your budget and environment. Improve your room. Develop consistent technique. Practise interpreting scripts. Learn how to listen critically to your recordings.
When your skills begin to exceed the limits of your setup, upgrade with a clear purpose.
The microphone is important, but it is not the source of the performance.
It is the witness.
Give it something worth recording.